[ASP.NET CORE] – My road trip to ASP.NET core – Getting Started
This post is my personal opinion, so please don’t throw rocks at my head.
Microsoft is cool again
On June 27, 2016, MS released 3 hugely powerful products in a row that promise to shift the balance of power and redraw the Server map: .NET core, ASP.NET core and Entity Framework Core. All of them numbered 1.0
So you ask yourself, what are they?
1. Introduction
Back in the day, when you wanted to build a website you had endless options:
Fast, simple, free: PHP, plus PHP my assmin, along with Apache Tomcat or XAMPP or whatever
For security, Java Server Pages, guaranteed slow
A few newly rising options like Node.js, and so on
The last option, still ASP.NET, because it demanded:
- Running on Windows Server
- Writing code in .NET (C#)
- Few hosts supporting it (because the server costs license fees)
- Support for few databases (SQL Server, for instance)
With ASP.NET Core you keep the advantages — writing C#, easy debugging, a monstrous IDE — and the drawbacks are gone (it runs on Mac, Win, Linux, Docker, free to use, open source, blah blah blah)
2. Documentation
Back in the day, to learn ASP.NET you had quite a few options, each with a drawback. One had too little information, one cost money, one was sloppy, and most of it was scattered around out there.
Now all the documentation is gathered in one place:
- General documentation for all products: https://docs.microsoft.com/en-us/
- Documentation for ASP.NET: https://docs.asp.net/en/latest/
3. For devs not on Windows
ASP.NET core can be written in all sorts of things like Sublime, Visual Studio Code, or your editor of choice.
4. Hello world
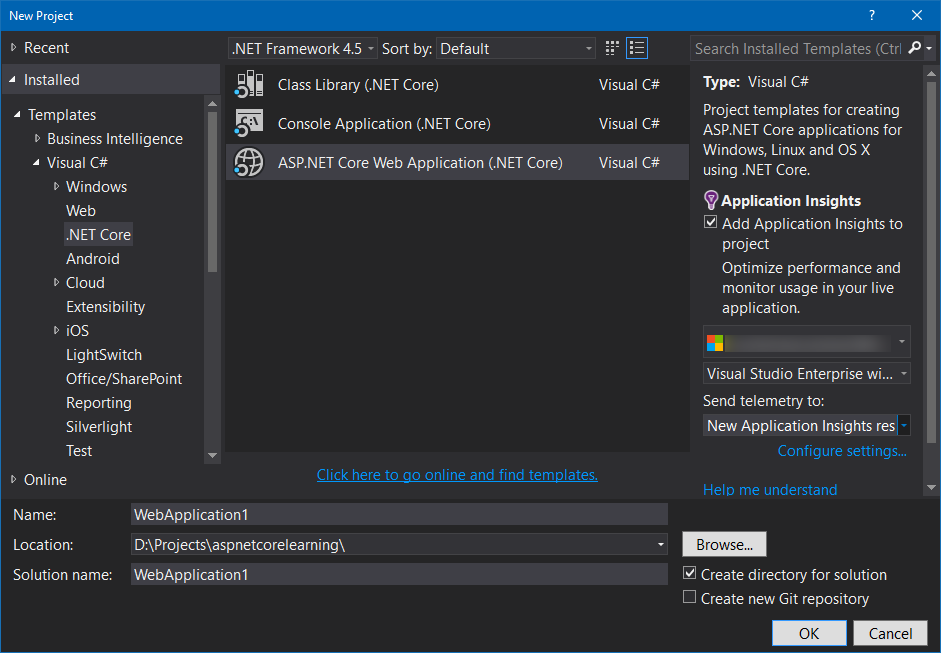
Start visual studio > New Project > pick ASP.NET Core Web Application (.NET Core)
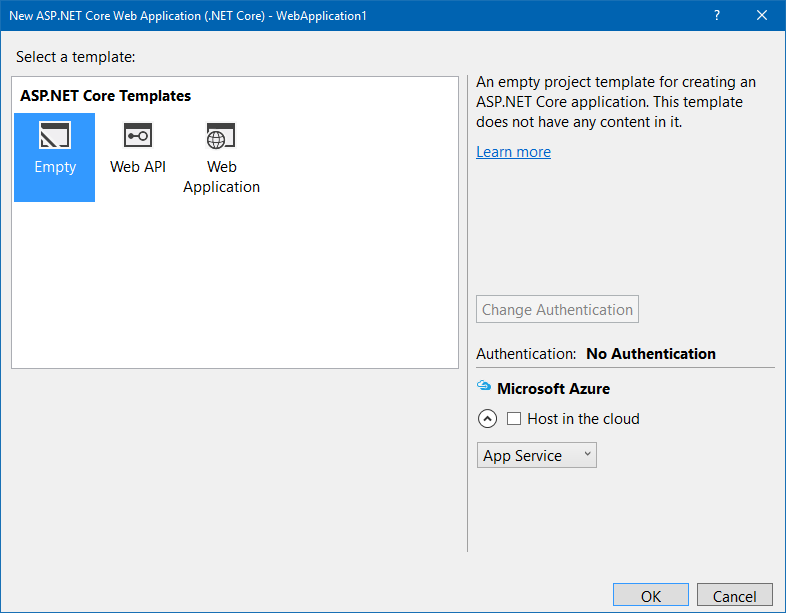
After hitting OK, pick Empty > uncheck Host in the cloud (for now let’s just test locally) > OK
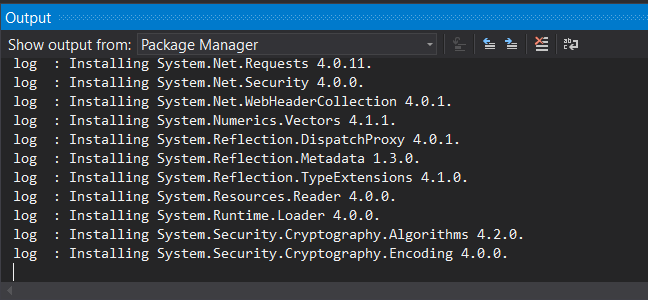
After you hit OK, Visual Studio starts creating the project. Once the project is created, it starts restoring the NuGet Packages.
The nice thing about ASP.NET Core is that it no longer rests on one fixed library like the old ASP.NET versions — it rests entirely on Nuget Packages.
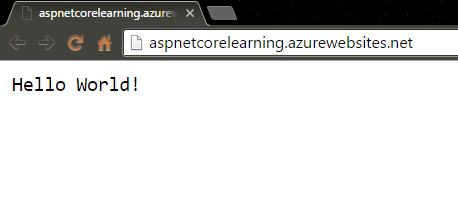
Finally, hit the button to run it and see the result
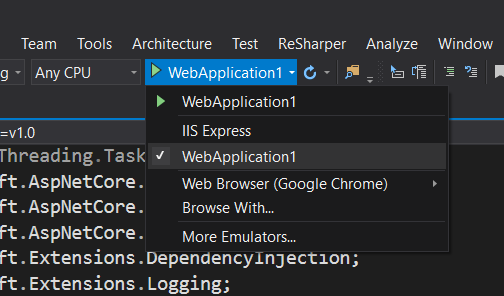
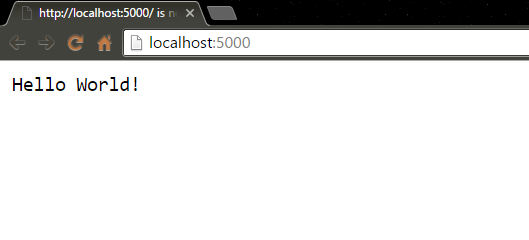
5. Publishing to Azure
Right click the Web Application > Publish
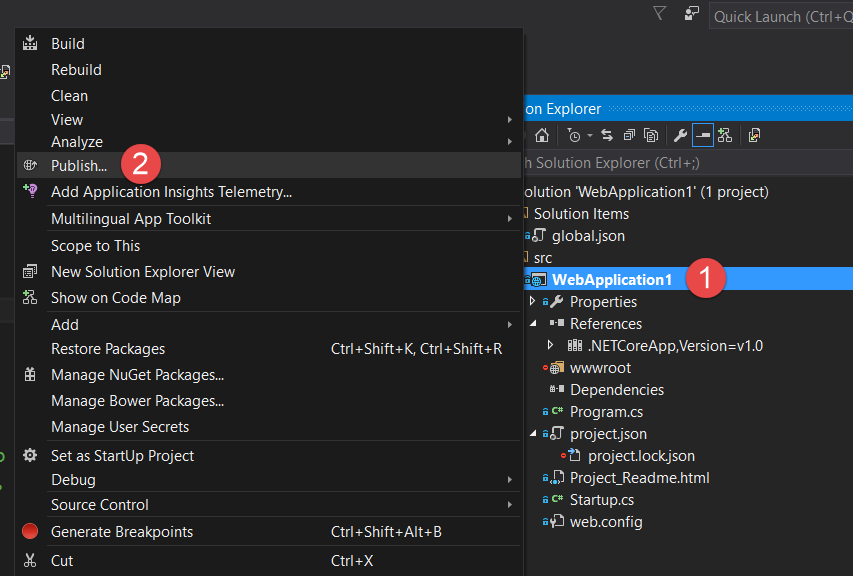
Pick Azure as the Publish target
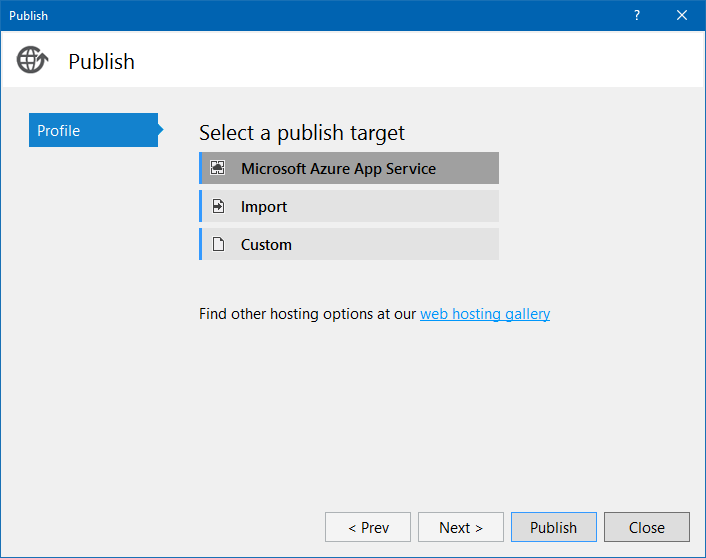
If you want a Resource Group of your own, create a new one
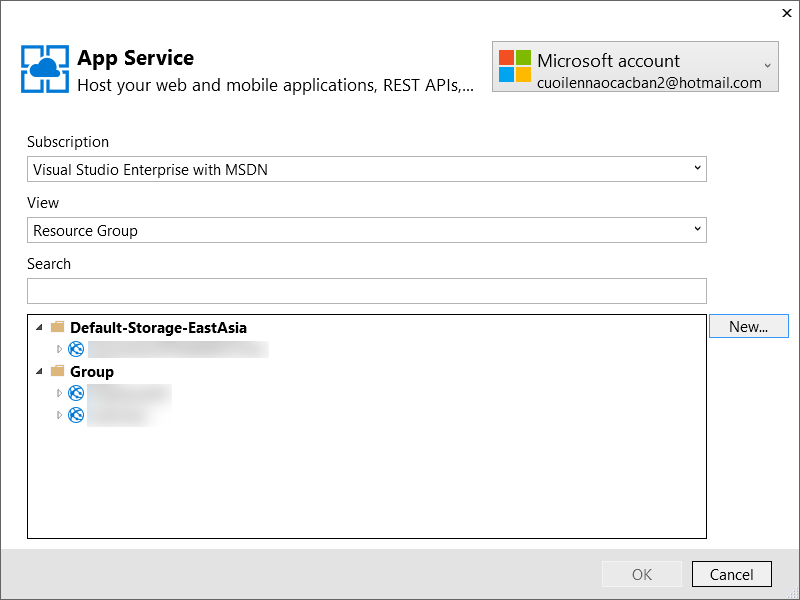
Remember to pick the settings you need
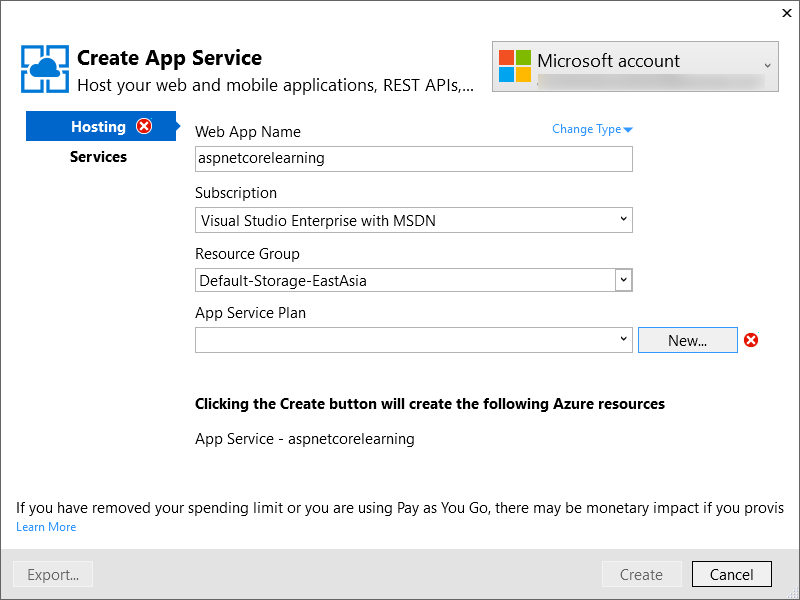
The free App Service Plan is fine

Once you reach this screen, just hit publish
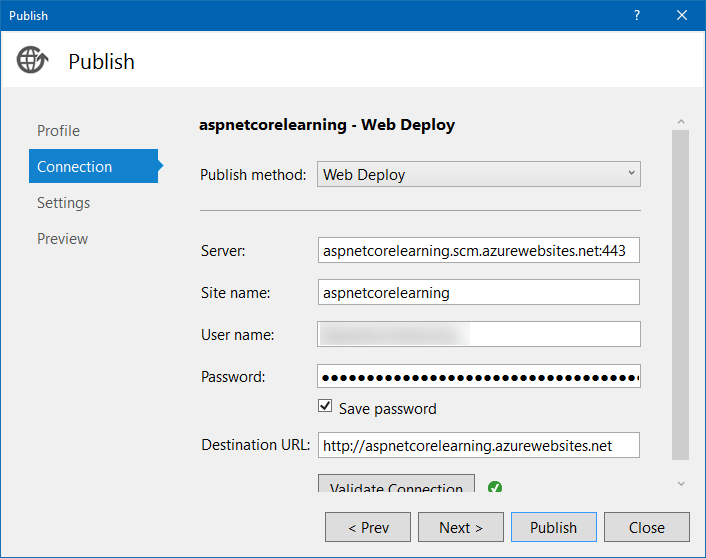
Admire the result