Wordpress - Install Wordpress to Docker containers from Windows
In this tutorial, I will guide your through on how to install wordpress on a container of docker. The same step can be use to install wordpress on an acture Ubuntu machine, with some small changes
1. Install Apache
Login to Docker container with SuperPutty / Putty
apt-get update
apt-get install apache2
(type y to confirm installation)
apache2ctl configtestIf output is
AH00558: apache2: Could not reliably determine the server's fully qualified domain name, using 127.0.1.1. Set the 'ServerName' directive globally to suppress this message Syntax OKMeaning: apache cannot get the reliably server domain name
IT JUST A WARNING
To fix: edit apache2.conf
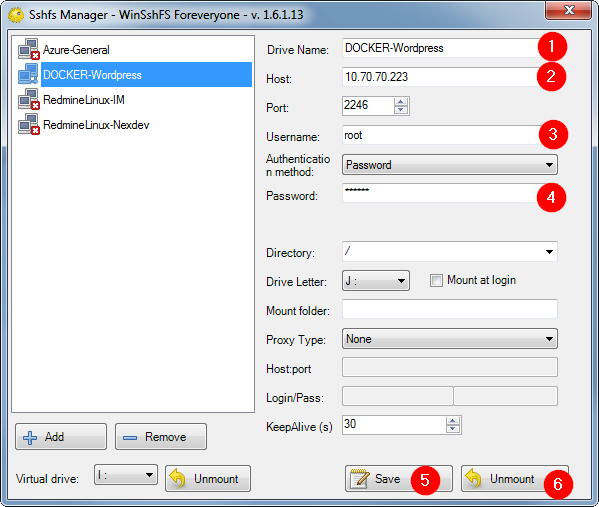
Recommended: Map network drive to easily config or copy file to container Download
- install Dolkan Download
- install win-sshfs follow the step to map
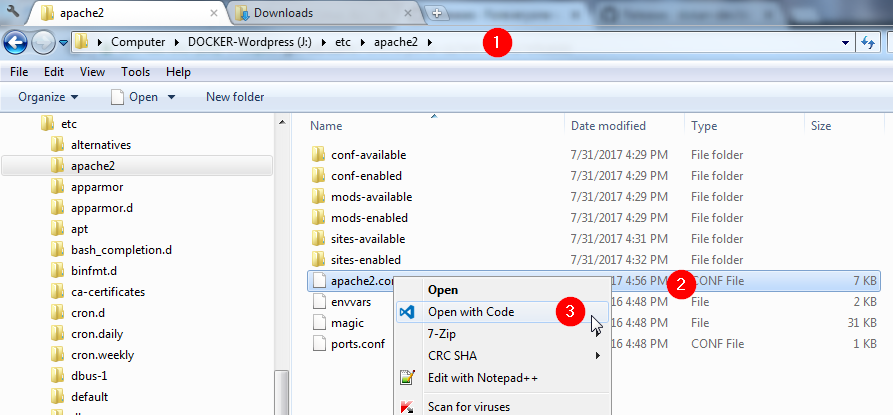
open /etc/apache2/apache2.conf in your favorite editor
add this line at the end of the file
ServerName localhosttype apache2ctl configtest again to see warning is disappeared
2. Install MySQL
2.1. Install mysql-server
apt-get install mysql-serverIn the installation process, type password for root user
3. Install PHP
apt-get install php libapache2-mod-php php-mcrypt php-mysqlConfig apache priority for index.php instead of index.html
Because dir.conf presented as folder, so we have to edit with linux nano
nano /etc/apache2/mods-enabled/dir.confIt should look like this

Type Ctrl + X to exit nano, type y to save
Restart Apache2 server
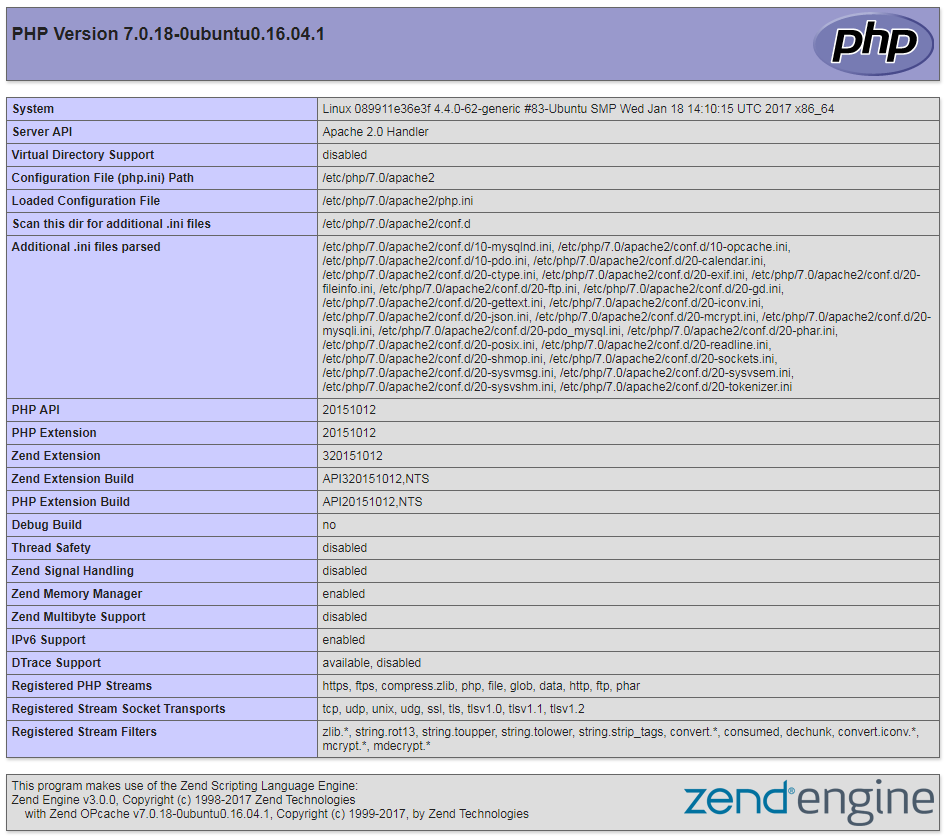
service apache2 restartTo test PHP server (REMOVE the file after test because it will show your server info)
Create new file info.php in /var/www/html/
Insert some PHP code
phpinfo(); Then you can access http://your_domain_name/info
4. Setup Wordpress
4.1. Create MySQL database and user
Start MySQL server
/etc/init.d/mysql startLogin into mysql
mysql -u root -pEnter your password
Your console windows will now start with mysql>
Type in to create database for wordpress (database name can be customize)
CREATE DATABASE wordpress DEFAULT CHARACTER SET utf8 COLLATE utf8_unicode_ci;SQL query must end with semicolon(;)
Create a separate account to manage wordpress database
GRANT ALL ON wordpress.* TO 'admin'@'localhost' IDENTIFIED BY 'admin';Flush the current Privileges, so MySQL will know about the recent changes
FLUSH PRIVILEGES;Exit MySQL
EXIT;Adjust Apache configuration to allow for .htaccess override and rewrites
Open apache configuration file to edit
/etc/apache2/apache2.confYou can use Ubuntu nano editor, or if you’ve mapped the network drive before (step 4), open the file like any other file on windows
Nano
nano /etc/apache2/apache2.confNetwork Drive
Search for this part and change
. . .

<Directory /var/www/html/>
    AllowOverride All
</Directory>

. . .
Save and close the file
Enable rewrite module
a2enmod rewriteEnable changes
apache2ctl configtestRestart apache2 service
service apache2 restart4.2. Install wordpress
Download wordpress at: https://wordpress.org/
Extract to a folder
Copy the content of folder “wordpress” to folder “/var/www/html” on container
Permission and .htaccess Show hidden files and folder on WinSCP
Open WinSCP > Option > References…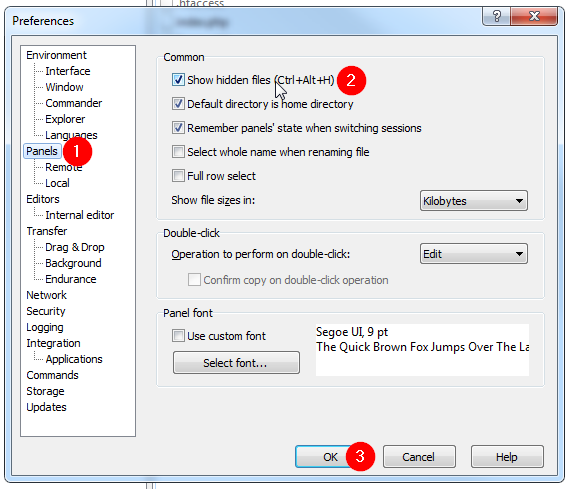
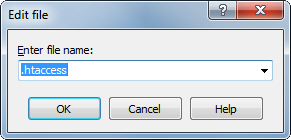
Create .htaccess file
Right click on an empty space > New File > enter .htaccess
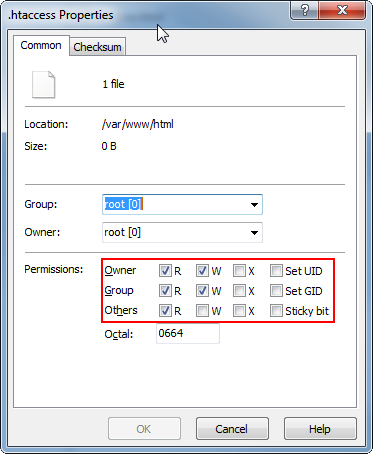
Set Read / Write permission for .htaccess
Right click on .htaccess > Properties
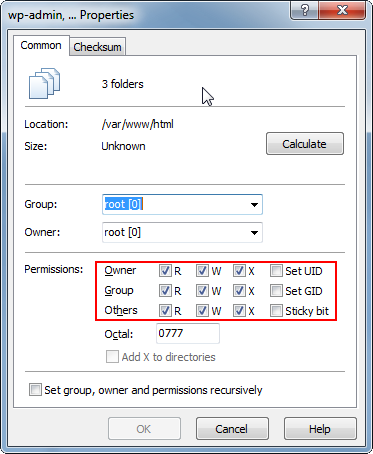
Set permission recursively for all 3 folders
4.3. Config
Open wp-config.php and fill in these info
// ** MySQL settings - You can get this info from your web host ** //
/** The name of the database for WordPress */
define('DB_NAME', 'wordpress');
/** MySQL database username */
define('DB_USER', 'admin');
/** MySQL database password */
define('DB_PASSWORD', 'admin');
/** MySQL hostname */
define('DB_HOST', 'localhost');
/** Database Charset to use in creating database tables. */
define('DB_CHARSET', 'utf8');
/** The Database Collate type. Don't change this if in doubt. */
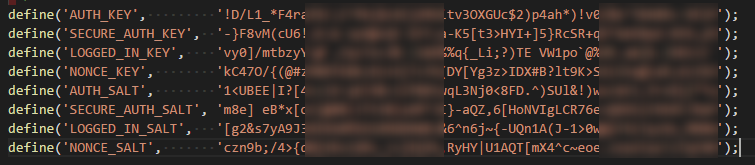
define('DB_COLLATE', '');Open link and copy the code show up then replace them
Add this line (to enable wordpress can modify files and folder directly
define('FS_METHOD', 'direct');It’s done, open your domain:port to config wordpress using web interface